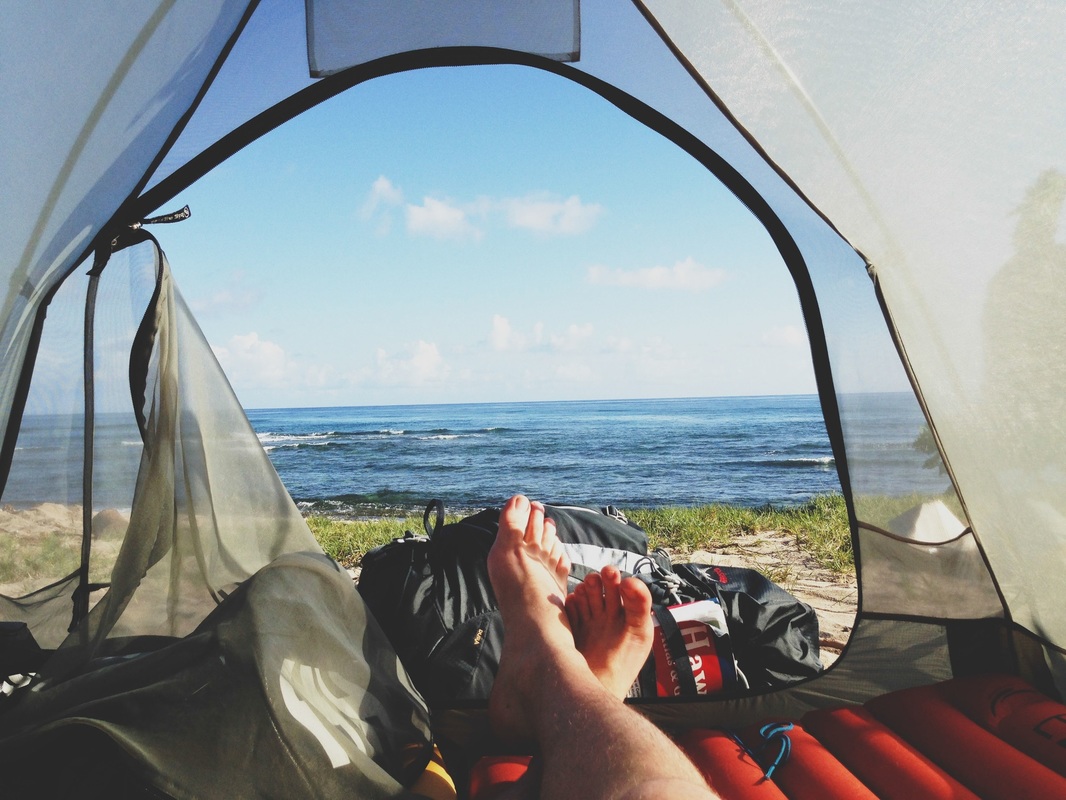
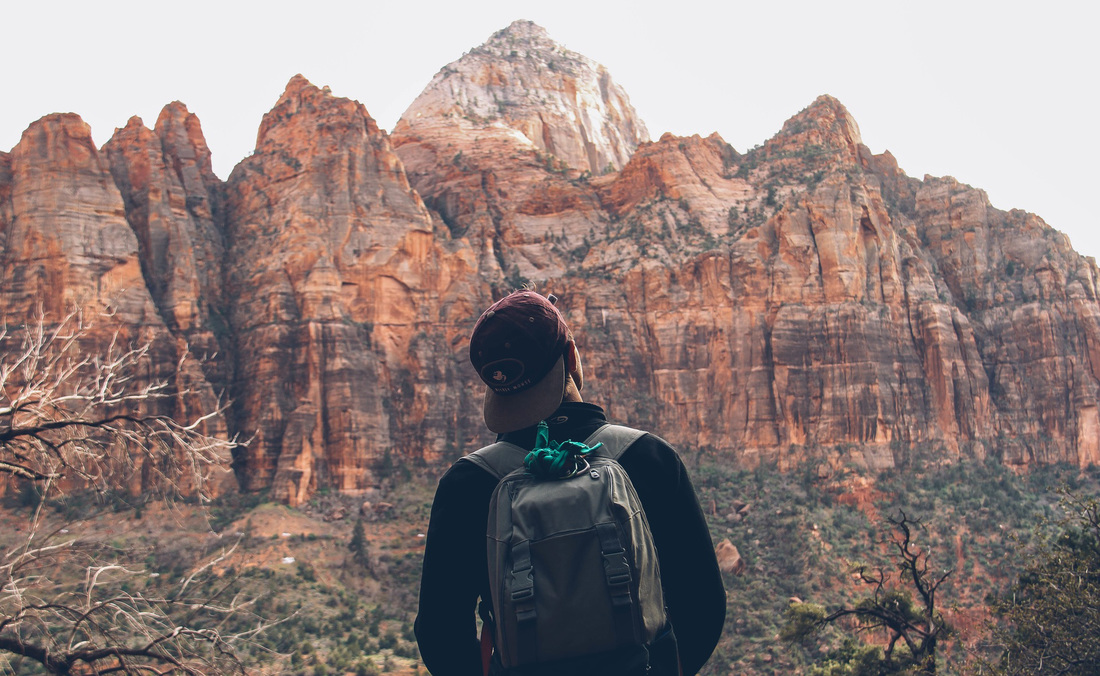
I'm James. This is my year of travel.

 
Use the Shade Cloak to jet through it, then ascend the platforms to reach a small alcove at the top of the screen.īuy the map from Cornifer, then hop back down the platforms and take the exit on the right, into the next area. In this area, hop across the platforms and you’ll soon reach a vertical black beam which blocks the way forward. The next area has acid and a number of explosive Ooma enemies, so climb the shaft cautiously and take the top right exit. Hop all the way up the vertical shaft and take the top left exit into the next area. In this area, you’ll have to deal with explosive enemies, so use caution (especially if you have attacking companion Charms), and heal often. Next, head to the left, where there is a platform in the middle of a pool of acid, and there you will find something glowing inside of a bubble.Now that we have the Shade Cloak, we can obtain the Fog Canyon map. 
Part of the floor on the bottom will break and reveal a shortcut back which will be useful when heading out of the room. Head to the left all the way to the wall, head to the path downwards, head to the right, then head down on the next available path. For this next part, there will be an annoying amount of exploding orange bubbles along with some Oomas and Uomas.Drop down on the gap and swim on the pool of acid below (thanks to the Isma’s Tear ability), head slightly to the left, then head to the top of the shaft while evading or defeating the two Oomas and the explosive bubbles on the wall. This next room is basically a maze filled with Uomas, Oomas, and exploding orange bubbles on the floor.On the wall on the right, slightly above that small platform, you will find an exit that is not seen on the map. Head up a little bit until you find a tree with orange bubbles on top of a small platform above a Charged Lumafly on the right side. In this next part of the room, the Knight will encounter more Uomas, Oomas, and now also Charged Lumaflies.Go through them and take the exit on the right. Then, the Knight will encounter three more Uomas and a pool of acid below. Be watchful of the explosive bubbles on the floor. Next, continue to the right, where the Knight will encounter 11 more Oomas.It is worth noting that Cornifer can be found at the top part of the room after the Shade Gate, and the Knight can purchase the map of the area from him for 150 Geo. Continue to the right, where the Knight will encounter five more Oomas and four Uomas, then take the exit on the right. Press the assigned dash button to use the Shade Cloak ability and pass through the Shade Gate. To continue, the Knight must use the Shade Cloak ability to pass through the Shade Gate. If the Knight tries to pass through, the Knight will bounce back but will not deal damage. Eventually, the Knight will find a Shade Gate, which is a gate made from the void, in the middle of the room. Next, continue to head to the right, where there are five Oomas, two Uomas, and a pool of acid below.Head to the very top of the shaft and take the exit on the right. In this next room, The Knight will encounter much more of Uomas and Oomas.Head to the very top of the room and take the exit on the left. Be careful when attacking Oomas as it will result in its shell popping, and its orange core will home in on the Knight and explode. In this room, the Knight will encounter a lot of Uomas and Oomas. The Knight has now arrived in Fog Canyon.Starting from the Queen’s Station Stagway Bench, take the exit on the right, jump up the platforms, head to the top, and take the exit on the left.To find the Charm Notch, this is what the Knight must do:
0 Comments
Leave a Reply. |
AuthorWrite something about yourself. No need to be fancy, just an overview. ArchivesCategories |
 RSS Feed
